Strukt AI turns a 2D floor plan into a furnished 3D home you can walk through in real light, in your browser. This guide walks through every step, from the first upload to a baked walkthrough you can share. It takes about five minutes to get the 3D model and a little longer to furnish and bake.
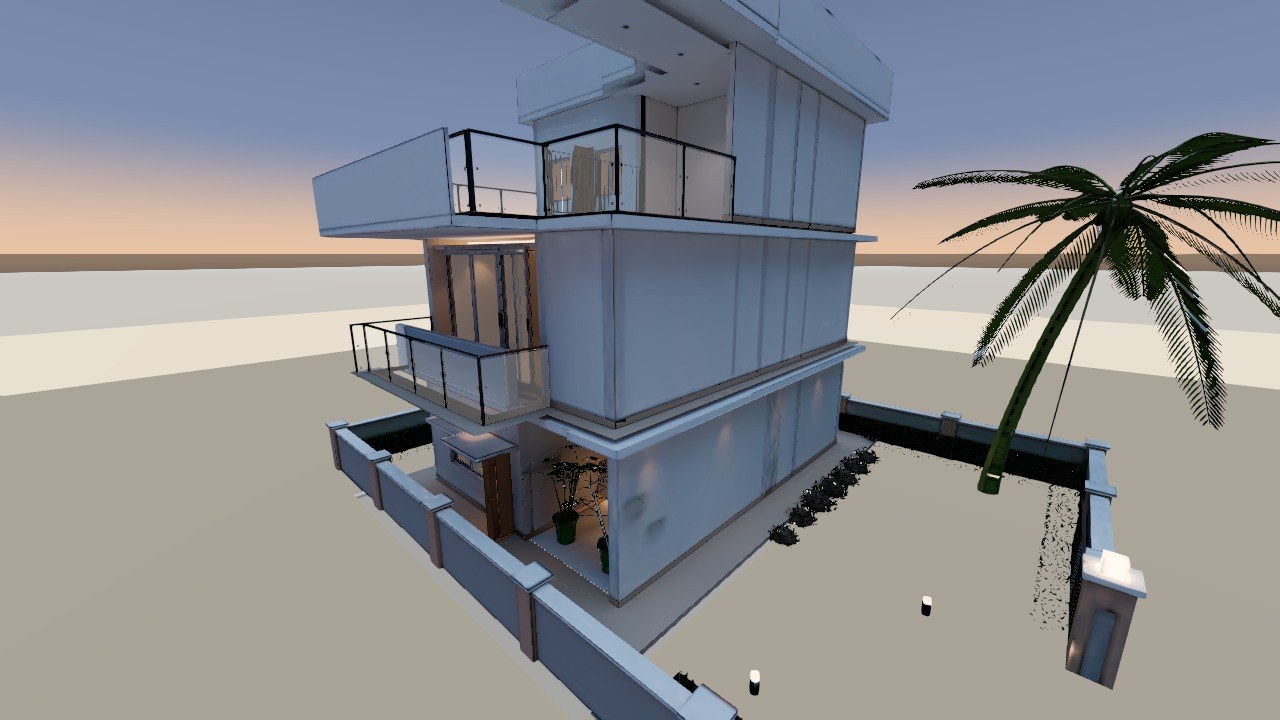
1. Upload your floor plan
Go to struktai.work and drop the plan into the box, or open the app at app.struktai.work. Use a PNG, JPG or WEBP image up to 15 MB. PDF and CAD drawings work once exported as an image, and a clear phone photo of a printed or hand-drawn plan works too. Sign in with Google; the Free plan needs no card.
2. Choose the Free or Pro model
Both models read your drawing. Free reads the structure: walls, doors and windows, with 10 plans a month. Pro (30 credits per plan) reads more of the drawing, including room names, and unlocks automatic furnishing and Bake & Walk. You can upgrade a Free plan to Pro later and keep the Free version.
3. Check what Strukt read
In about five minutes you see the plan with every wall, door, window and room drawn on top. Fix anything that looks off in the 2D editor: move or delete a wall, change its thickness or height, move a door. Use the ruler to set the scale from one wall whose length you know, so every room has the right size.
4. Look at it in 3D
Switch to 3D View to orbit the model, or FPV to walk inside it. The plan becomes walls, floors, doors and windows at real proportions.
5. Furnish every room
Furnish
On a Pro plan, press Furnish & bake this house in the 3D view. Strukt reads which room is which and furnishes the whole home: beds get walkways, sofas face the TV wall, doors stay clear. Furnishing is free.
Check the layout
Review the furniture in 2D. Move, rotate or delete any piece; the rest of the room re-plans around your change. Your step is saved, so you can close the tab and continue later.
Bake
Start the bake. It costs 40 credits per floor. Rooms stream in as they finish, so you can walk the first ones while the rest are still lighting.
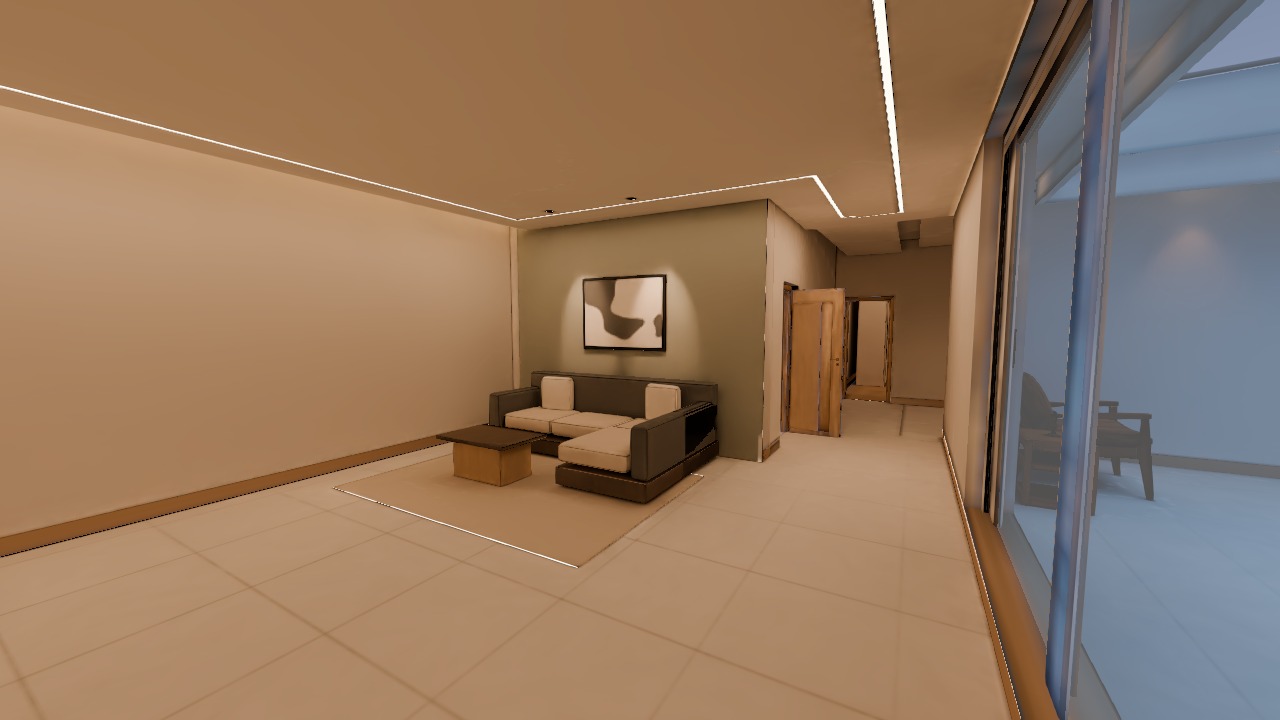
6. Walk through it
In first-person view:
- —W A S D to walk, the mouse to look around.
- —V switches between Normal FPV and Bake view.
- —Hold B to compare with the plain view for a moment.
- —Esc frees the mouse without leaving the walk.
7. Houses with several floors
Crop each floor from one drawing and Strukt stacks them at storey height, lined up on their shared walls. A house can have a ground floor and up to three upper floors, and the whole house is baked together.
8. Renders, exports and sharing
- —Photo-real view (H): hold the camera still and the image sharpens, for single stills.
- —Export the model as GLB, BLEND, IFC or SKP for Blender, Revit, SketchUp and other tools.
- —Publish to Community: your home, its renders and its baked walk-through go live, tagged with your building so neighbours can find it.
Frequently asked questions
What file do I need to start?
An image of the floor plan: PNG, JPG or WEBP, up to 15 MB. Export PDF or CAD drawings as an image first. A clear phone photo of a printed or hand-drawn plan also works.
Do I need the Pro model?
No for 3D, yes for automatic furnishing and baking. The Free model reads the structure; the Pro model (30 credits per plan) reads more of the drawing and unlocks furnishing and Bake & Walk. You can upgrade a Free plan to Pro later and keep the Free version.
How much does a bake cost?
40 credits per floor. Walking the baked home again later is free.
Can I bake a house with several floors?
Yes. A house can have a ground floor and up to three upper floors. The whole house is baked together, from its ground floor.
Which keys do I use in the walkthrough?
W A S D to walk, the mouse to look around, V to switch between Normal FPV and Bake view, hold B to compare with the plain view, and Esc to free the mouse without leaving the walk.
Convert a floor plan to 3D, free, in your browser
Upload an image of your plan (PNG, JPG or WEBP) and get an editable, furnished 3D model in about 5 minutes. No download, no card.
Convert your plan